
Getting Started: Setting Up Your Video Resources for 9 to 5
An integral part of licensing 9 to 5 is ensuring the official video segments featuring Dolly Parton are properly configured for your production. This guide provides step-by-step instructions to download the StageStudio app, log into your account, install show materials, configure audio and display settings, and run video resources during your performance.
1. Downloading and Installing StageStudio
To get started:
- Download the StageStudio application from StageStudioApp.com.
- Compatibility: Available for both macOS and Windows operating systems.
- License Inclusions: Full access to all audio features and editing capabilities is included with your 9 to 5 show license (no Pro-upgrade required).
2. Account Credentials & Login
- Launch StageStudio.
- Log in using your existing Broadway Media account credentials.
- If you created a new account upon licensing, check your email for automated login setup instructions.
- Need assistance? Contact support at hello@broadwaymedia.com.
3. Accessing & Creating Your Production
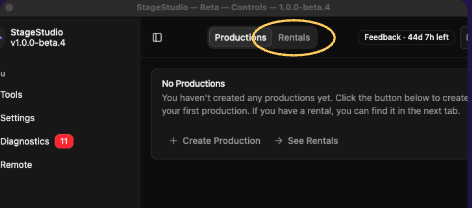
Upon launching StageStudio for the first time, the home screen may display "No Productions". Follow these steps to download your show rental:
- Click Rentals in the top navigation bar.
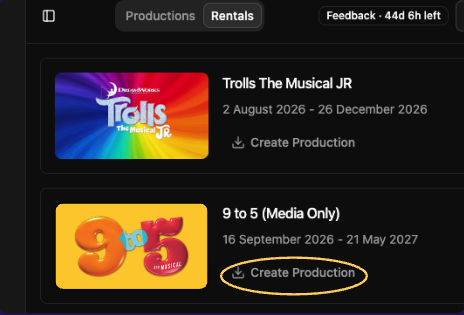
- Locate 9 to 5 under your account's active and upcoming rentals list.
- Click Create Production beneath the show title.
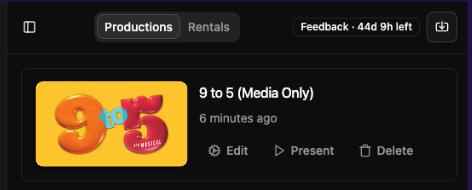
- StageStudio will automatically download the show materials. Once the download finishes, the show will appear under the Productions tab ready to edit or present.
4. Editing Show Resources & Settings
Select Edit next to 9 to 5 under the Productions menu to open the Editor interface. Navigate through the top category bar to customize settings:
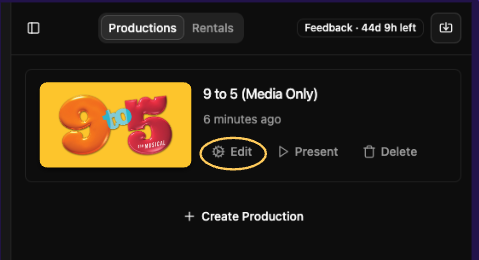
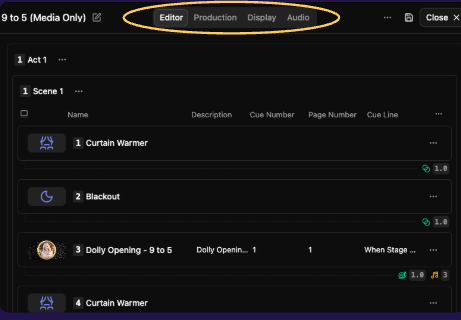
Selecting "Edit" opens a new editor window. The navigation bar has options for:
- Editor: Act, Scene, and Cue Level Edits
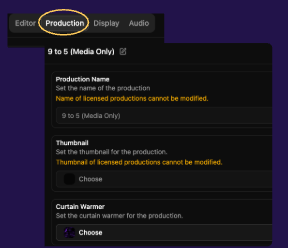
- Production: Full Production Level Edits
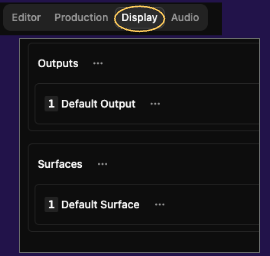
- Display: Output/Surface Settings
- Audio: Route tracks to respective outputs
Note: Some editing features may be locked due to licensing restructions or package level.
A. Editor (Cue Level)
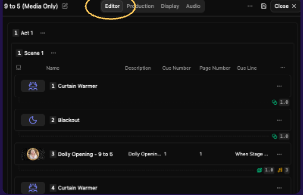
The editing window shows each of the cues associated with an Act and Scene.
Package Content Differences:
- Scenic Projections Package: Includes all scene backgrounds, settings, and Dolly Parton video segments.
- Media Only Package: Includes curtain warmers, blackouts, and official Dolly Parton video segments.
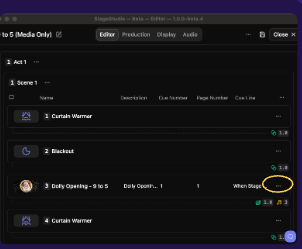
- Cue Navigation: Click the ellipsis (...) next to any cue to access options such as Inspect Set, Disable Set, Duplicate Set, Move, Reset, or Delete.
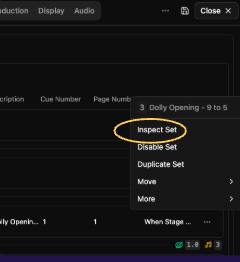
Inspect Set: Customize cue names, sound effects, visual options, transitions, triggers, and cue-level audio.
B. Production Settings
- Configure show-level options, such as uploading custom curtain warmer graphics (e.g., your organization's logo to display prior to showtime).
C. Display & Output Setup
- Manage physical display outputs and active surface mapping.
- Adjust edge alignment, edge blending, and advanced surface warping to match your projector and venue setup.
D. Audio Configuration & Routing
-
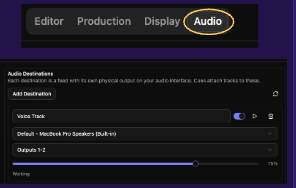
9 to 5 includes three distinct audio tracks for maximum playback flexibility:
- Voice Track: Contains Dolly Parton's spoken dialogue (without background music).
- Music Track: Instrumental track only (without spoken dialogue).
- Click Track: Metronome track for pit orchestra synchronization.
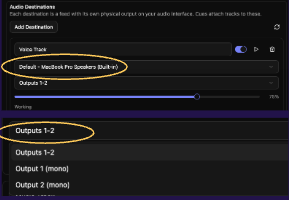
- Track Toggles: Enable or disable individual tracks using dedicated toggle switches (e.g., turn off the click track if performing without a live orchestra)
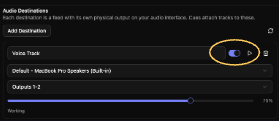
- Speaker Output & Routing: Use drop-down menus to route each track to physical speaker outputs on your device. Choose between mono or stereo output modes (e.g., routing voice dialogue to left output and click track to right output).
E. Saving Edits
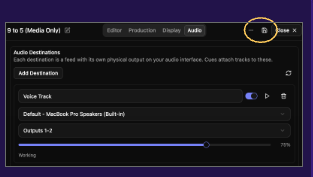
Always click the Save button at the top of the interface to persist all show-level adjustments.
5. Presenting & Running the Show
- Return to the main Controls tab and click Present.
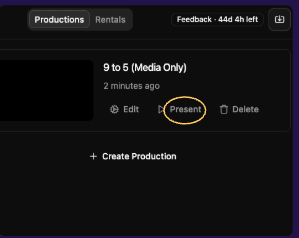
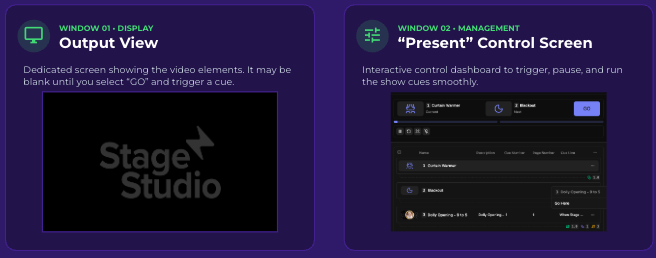
- Two separate windows will open:
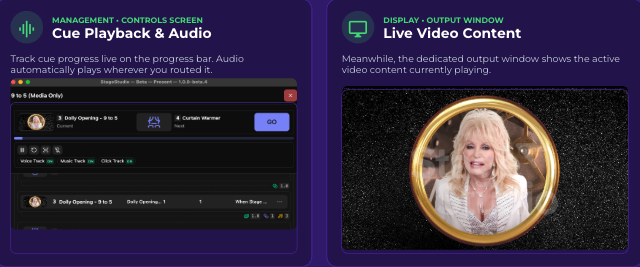
- Output/Display Window: Dedicated screen displaying live video content sent to your projector or audience display (remains blank until a cue is actively triggered).
- Present Control Dashboard: Interactive control dashboard to trigger, monitor, pause, and run show cues.
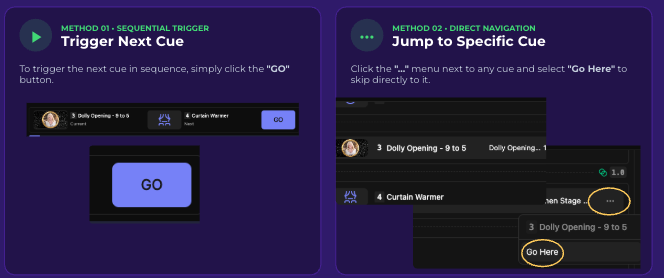
- Triggering Cues:
- Sequential Playback: Click GO to advance to the next cue in sequence.
- Direct Navigation: Click the three dots (...) next to any cue and select Go Here to skip directly to that point in the show.
- Monitor live progress using the real-time progress bar on the control dashboard.
- The control screen will have a progress bar that shows the operator the the live progress. The audio will be playing wherever it’s routed, and meanwhile, the output window will be showing Dolly up on the screen!
6. Support & Resources
If you have questions or require technical assistance:
- Direct Email Support: hello@broadwaymedia.com